
Note!
Avery DesignPro is no longer available for download from the Avery website.
Avery has transitioned to an online-only web solution for printing labels.
As an alternative to DesignPro, Labeljoy can be used.
Labeljoy is a paid application; a trial can be downloaded to determine if the application is suitable.
Download the Avery Design Pro program and run the installer file.
If using a Windows 64-bit machine, please see the special notes at the end of this chapter.
Press Next to start the installation.
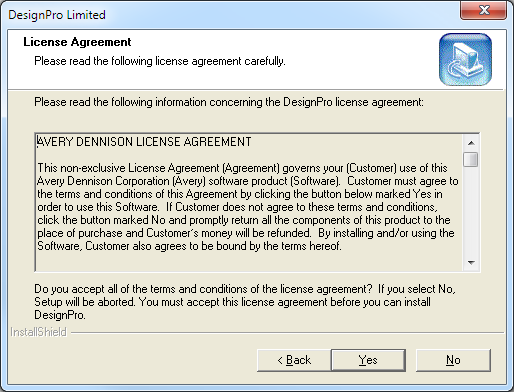
Read the license agreement and confirm you agree.
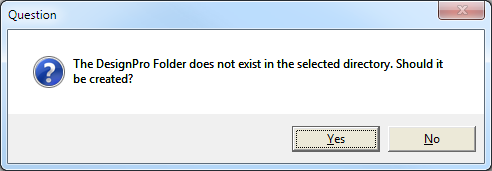
Allow the program to install in the default folder.
Don’t change this unless required and you are experienced to do so.

If the folder does not exist, it will be created in the location selected.
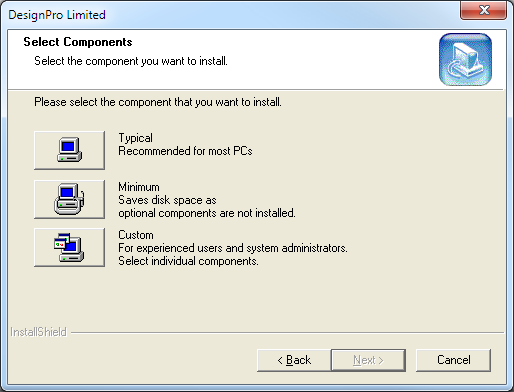
Select the components you want to install, generally you will just select Typical.
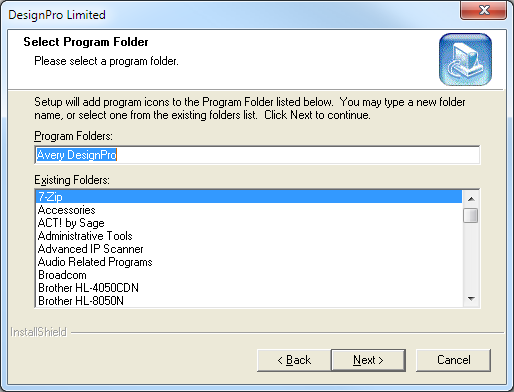
Confirm the Program Folder that will be used.
Confirm the copying of files required for installation.
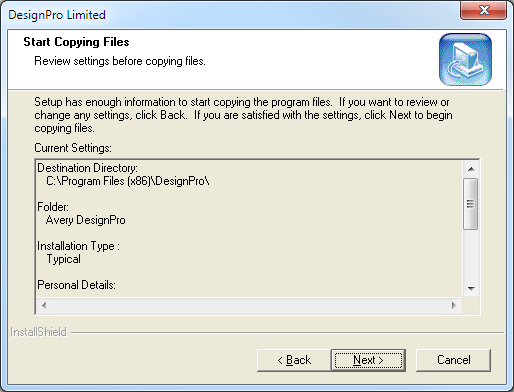
The installation will take place with a quick progress bar.
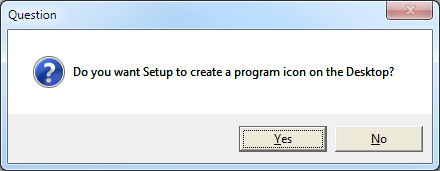
Once that is complete, you will be given the option of creating a program icon on the desktop.
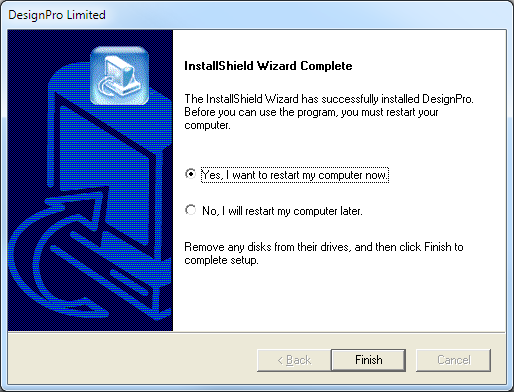
You may be required to restart your computer before being able to use the features of Avery Design Pro.
If you selected to show an icon on the desktop, it will be created.

The first time you open Avery go to Tools > Options > General Tab > un-tick the option “Bypass Getting Started Help”.
If you are using and installing the Avery Design Pro label program on a 64-bit machine, there is an additional step.
Once the installation has completed, Copy the entire Avery Design Pro folder from C:\Program Files (x86)\Design Pro to C:\Program Files\.
You do not have to remove it from the default location or change any other settings, just simply copy the folder to the other location so that it is in both areas.